
5 Tips to Radically Improve Your Headshot Photography
Headshot photography is one of the fastest-growing genres of photography today, and for good reason. With more people working from home and using technology like Google and Zoom to collaborate, work, and communicate, our online persona is much more exposed than ever. Many people who have taken their online presence for granted are now spending a lot more time refining that image because that's the way they're making their primary business connections.
The pandemic has made a huge shift in what people are doing for a living. A lot of my clients coming in today are people who left the corporate world to pursue a new job in a different field, or they’ve started their own business or a passion project they couldn’t do before. All of these people need great headshots and branding images, and we’re living in a golden age of headshot photography.
Number 1: Avoid Extreme Posin

Simple poses work well for professional headshots

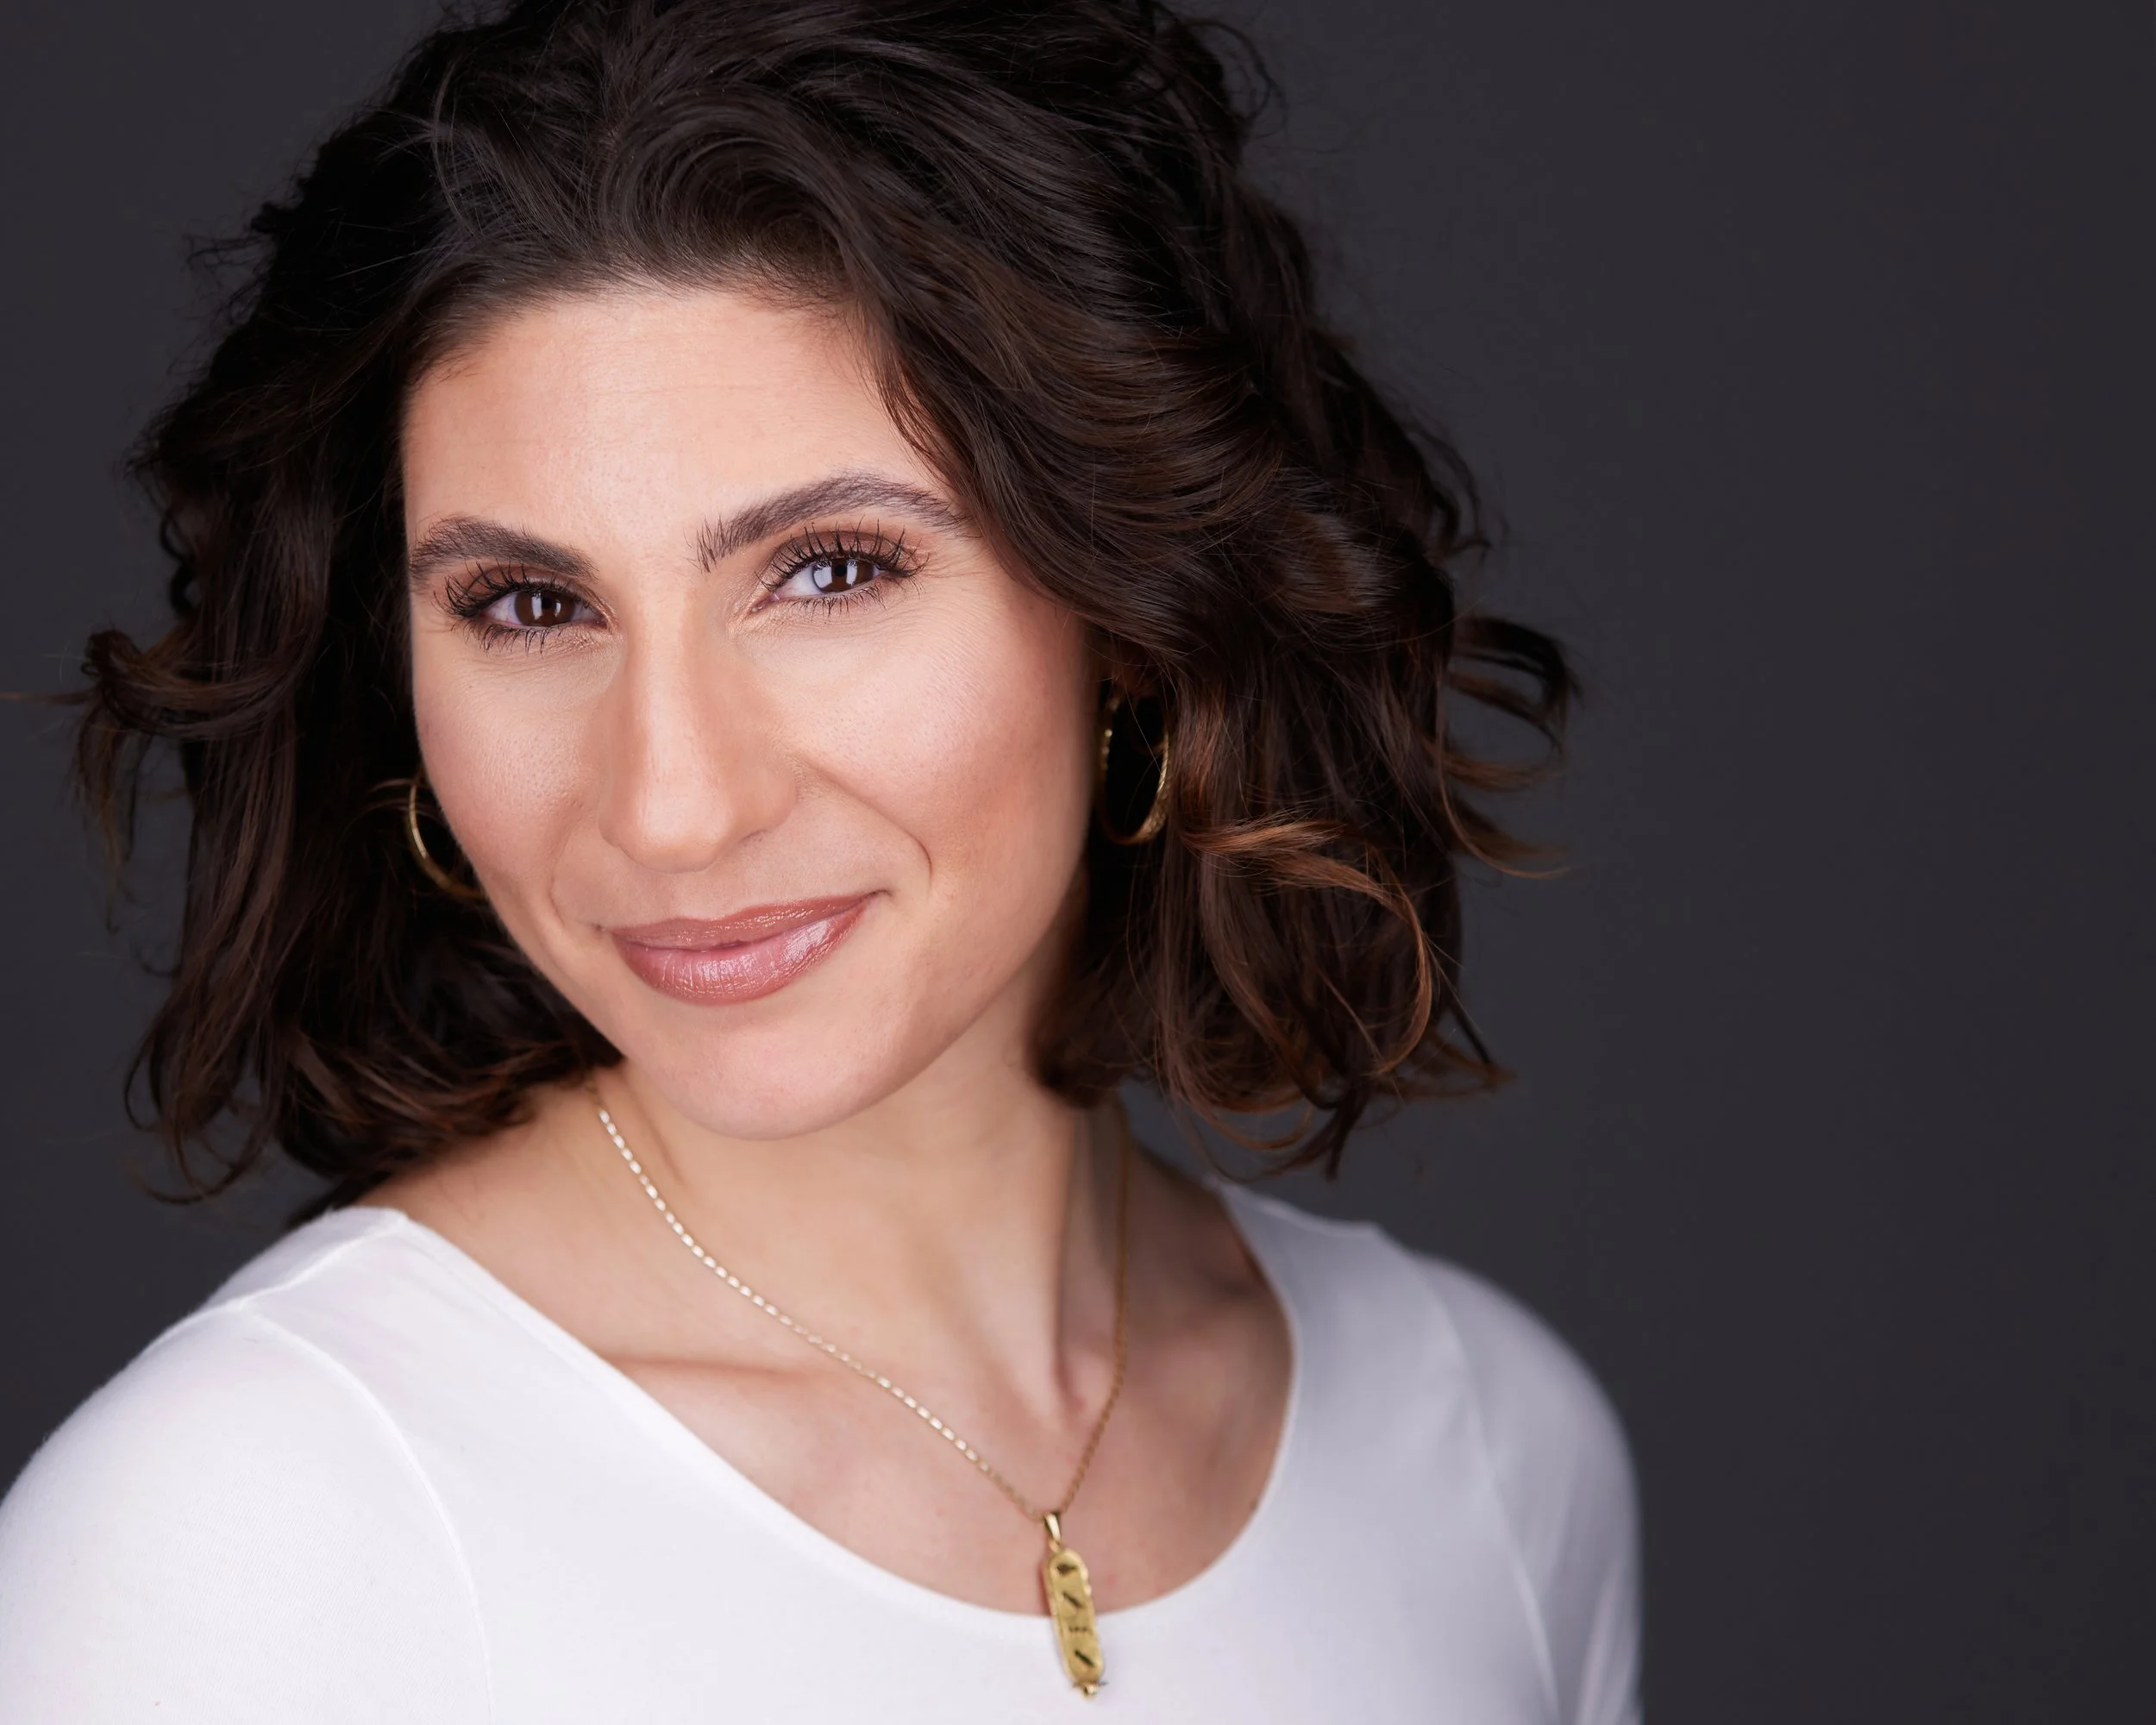
One way to avoid extreme posing is to make sure the subject drops their front shoulder
Tip number one: Avoid extreme posing. Extreme posing is when you take a client's shoulder and jam it toward the camera so that it’s the primary focus of the image, while turning their head in the exact opposite direction, and having them lean in uncomfortably. These things will make for terrible headshots, especially for corporate clients.

A little goes a long way when posing a subject for their professional headshot
If your client has something going on around their neck area, turning them sharply will create all kinds of lines on the side of their face that they don’t need. Turning them too much can bunch them up, make them uncomfortable, and look awkward. It honestly just looks like you learned how to take headshots in the 90s. We’re not trying to make Sears glamour studio photos—we’re trying to make professional headshots that make them look like people who others want to work with.
Instead, start with your client completely squared up toward the camera—head and shoulders straight on. This does a number of things. First, most people like the way they look when shot head-on. Second, when you start posing them, move them ever so slightly. For example, I’ll say, “Bring your right shoulder five degrees toward me.” Instead of a dramatic shift, it’s just a subtle adjustment.
This method keeps them from looking contorted, and creates a much more natural image. Slight head turns can also help you identify their best side, because everyone has a sweet spot that makes them look their best. I don’t like using the term “good side” and “bad side” because it’s not empowering, but it’s about making them look like themselves. The less you move them around, the easier it is to capture that.
Starting with head-on shots also helps you tweak your lighting. It’s easy to see if something is off and to make small adjustments to get them looking their best.
Number 2: Get That Jawline Out
Tip number two: Get that jawline out. I have to give full credit to my mentor, Peter Hurley, for this. He wrote the book on the jawline when it comes to headshots, so definitely check out his video—”It’s all about the jawline.”
The jawline, or lack thereof, will make or break your images. One of the easiest things you can do is have your client get their jawline toward you. Some call it “turtling,” but essentially, have your client bring their neck forward like this, and then tilt their chin down. What you don’t want them to do is hunch over or lean toward you. This move benefits everyone. Even models with zero percent body fat will benefit because it creates a sharper jawline.

Accentuate the subject's jawline by having them extend their neck foward

Head and shoulders, direct headshots always look great!
Number 3: Never Say Cheese
Tip number three: Never, ever say “cheese.” Probably the biggest mistake people make when getting into headshot photography is telling the client to smile or say cheese. If you say that, you’re going to get the worst expressions imaginable.
Telling a five-year-old to say cheese for a school photo is one thing, but when dealing with adults, you want genuine expressions. What you need to do instead is find a way to make them forget that they’re staring into your lens. Get them comfortable without forcing them to smile. Make them feel good about being there and talk to them like you would with a friend. This way, they start to relax, and the real smiles come out naturally.
Number 4: Shoot Tethered
Tip number four: Shoot tethered. I’ve already touched on this, but shooting tethered is a game-changer. If you’re not shooting tethered yet, you’re missing out. It’s inexpensive and will make your images so much better. You’ll become a better photographer, and your clients will be much happier because they can see their images in real-time and offer feedback.

Tethered shooting makes it easy to see fine details in the hair, clothing, and expression.
Number 5: Use Simple, Flattering Lighting
Tip number five: Use a simple, flattering light. If you’re new to studio photography, stick with a simple two-light setup like parallel lighting, or clamshell lighting. In both of these lighting methods, you only need two lights set around your subject. Avoid using a bunch of lights before you know how each one will look by itself when aimed at your subject, and always focus on the client’s expression over fiddling with lights.

Professional headshots should convey a genuine expression, which is hard to get by asking someone to smile.
I love to coach my clients on small, closed-mouth smiles. This always conveys confidence and professionalism.
Well, I hope these tips have helped you to improve your headshots, or if you are looking to get a headshot, I hope you have learned some of the most important things to look out for when choosing a photographer and getting your new professional headshot.
As always, if you’re located in New York on or near Long Island, you are in luck because you can book a session with me simply by clicking here.